[Linux]Ubuntu Server - SSH에서 root 계정 사용하기
[Linux] Ubuntu Server - Using root Account in SSH

Ubuntu Server에 SSH를 설치하는 이유는 원격 접속을 통해 명령 처리나 시스템 설정 등을 제어, 관리를 하기 위해서 입니다. SSH를 사용할 때 'su', 'sudo'명령어를 이용하여 일시적인 최고관리자 권한으로 작업을 하는 것이 일반적이지만, 보안상의 위험을 감수하고 'root'계정으로 실행을 하면 관리 업무가 용이한 측면이 있습니다.
이번 글에서는 SSH를 이용하여 원격으로 접속할 때 'root'최고관리자 계정으로 접속 가능하게 설정하는 방법을 소개드립니다.
테스트를 위한 작업 환경은 다음과 같습니다.
Ubuntu 18.04
Apache/2.4.29
MySQL 14.14
설명에 앞서 SSH를 아직 설치하지 않았다면 아래 글을 참고하시기 바랍니다.
[Ubuntu]Ubuntu 20.04 SSH 설치
[Ubuntu]Ubuntu 20.04 SSH설치 《SSH, Secure Shell》는 《Telnet》처럼 원격 컴퓨터에서 호스트 컴퓨터에 《Putty》,《MobaXTerm》과 같은 터미널 접속 프로그램을 이용하여 명령 실행이나 파일 관리를 할 수 있.
tomcabin.tistory.com
SSH 설정
ⓐ 'Ctrl+Alt+T'를 눌러 터미널 화면에서 SSH 설정 파일인 'sshd_config'파일을 엽니다.
|
1
|
root@kairosHost:/# vi /etc/ssh/sshd_config
|
ⓑ vi 화면에서 'a'를 눌러 편집모드로 전환 한 뒤 'PermitRootLogin without-password'을 'PermitRootLogin yes'로 수정합니다.
|
1
|
PermitRootLogin without-password
|
변경 전
|
1
|
PermitRootLogin yes
|
변경 후
|
1
2
3
4
5
6
7
8
9
10
11
12
13
14
15
16
17
18
19
20
21
22
23
24
25
26
27
28
29
30
31
32
33
34
35
36
37
38
39
40
41
42
43
44
45
|
# $OpenBSD: sshd_config,v 1.101 2017/03/14 07:19:07 djm Exp $
# This is the sshd server system-wide configuration file. See
# sshd_config(5) for more information.
# This sshd was compiled with PATH=/usr/bin:/bin:/usr/sbin:/sbin
# The strategy used for options in the default sshd_config shipped with
# OpenSSH is to specify options with their default value where
# possible, but leave them commented. Uncommented options override the
# default value.
Port 22
#AddressFamily any
#ListenAddress 0.0.0.0
#ListenAddress ::
#HostKey /etc/ssh/ssh_host_rsa_key
#HostKey /etc/ssh/ssh_host_ecdsa_key
#HostKey /etc/ssh/ssh_host_ed25519_key
# Ciphers and keying
#RekeyLimit default none
# Logging
#SyslogFacility AUTH
#LogLevel INFO
# Authentication:
#LoginGraceTime 2m
PermitRootLogin yes
#StrictModes yes
#MaxAuthTries 6
#MaxSessions 10
#PubkeyAuthentication yes
# Expect .ssh/authorized_keys2 to be disregarded by default in future.
#AuthorizedKeysFile .ssh/authorized_keys .ssh/authorized_keys2
#AuthorizedPrincipalsFile none
"/etc/ssh/sshd_config" 122L, 3249C 33,16 Top
|
ⓒ《Esc》 키를 눌러 편집모드에서 나온 후 ':wq'를 입력하여 저장 후 종료합니다. 설정이 완료되었으면 SSH 서비스를 재시작합니다.
|
1
|
root@kairos:~# service ssh restart
|
SSH 접속
SSH 접속 시 'root' 계정으로 원격 로그인이 가능하도록 설정하였으므로 SSH 프로그램 중 《PuTTy》를 사용하여 연결을 해 봅니다.
ⓐ《PuTTy》를 설치하지 않았으면 다음 사이트에서 설치파일을 다운로드해서 설치합니다.
Download PuTTY - a free SSH and telnet client for Windows
Is Bitvise affiliated with PuTTY? Bitvise is not affiliated with PuTTY. We develop our SSH Server for Windows, which is compatible with PuTTY. Many PuTTY users are therefore our users as well. From time to time, they need to find the PuTTY download link. W
www.putty.org
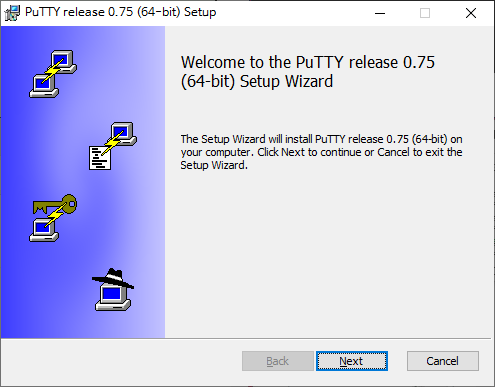
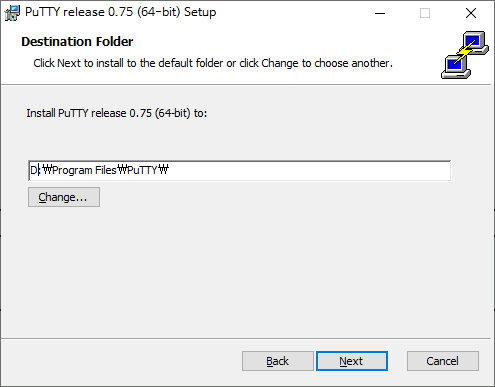

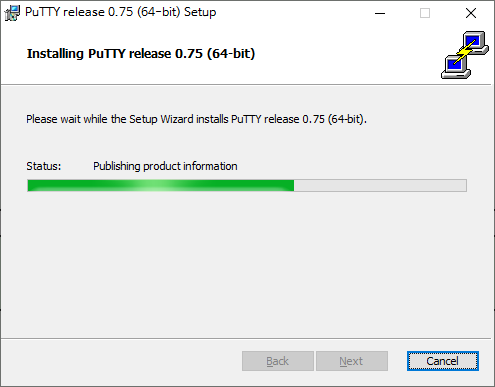

ⓑ《PuTTy》를 실행한 후 'Host Name'에 호스트 접속 IP 또는 도메인 주소를 입력합니다.

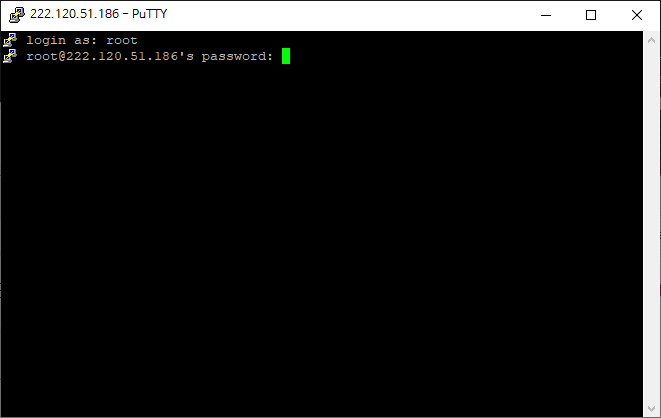
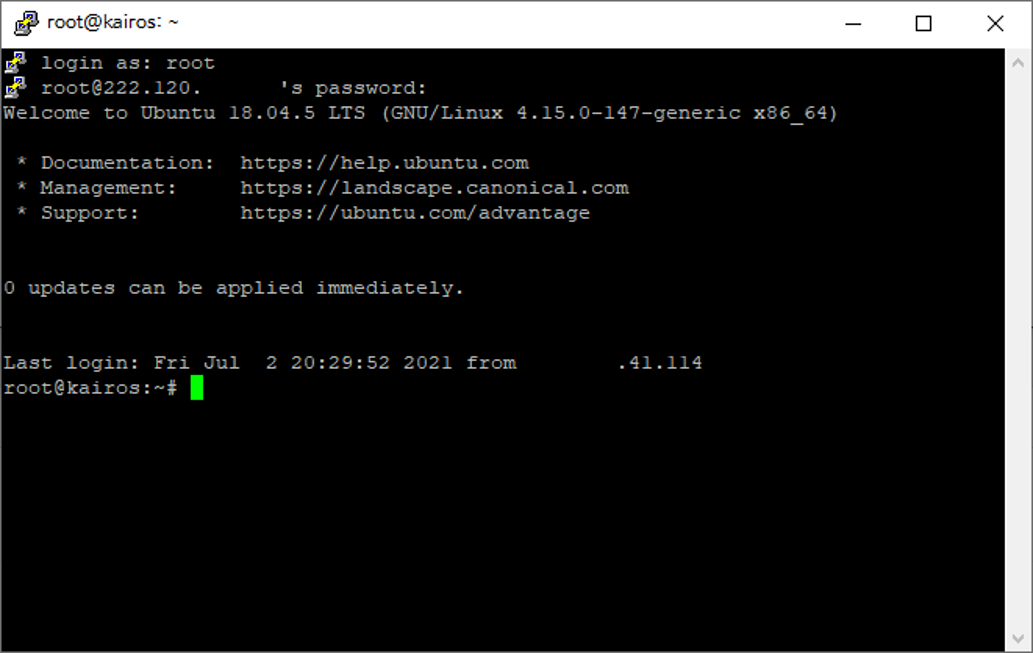
ⓒ 로그인 아이디에 'root'를 입력하고 암호를 입력하면 정상 접속이 되는 것을 확인할 수 있습니다.
'Linux Server' 카테고리의 다른 글
| [Linux]Ubuntu Server - 호스트명(Hostname) 설정 (0) | 2021.07.06 |
|---|---|
| [Linux]Ubuntu Server - SFTP 설정 및 FileZilla 설치하기 (2) | 2021.07.05 |
| [Linux]Ubuntu Server - SSH 설치 (0) | 2021.07.02 |
| [Linux]Ubuntu 20.04 웹 서버 구축(3) - PHP 7.4 설치 (0) | 2021.07.01 |
| [Linux]Ubuntu 20.04 웹 서버 구축(2) - MariaDB 설치 (0) | 2021.07.01 |